Leveres inden for 5-7 arbejdsdage
Leveres inden for 5-7 arbejdsdage
Stories
Step-by-Step guide to saving old photos
1 January 1970
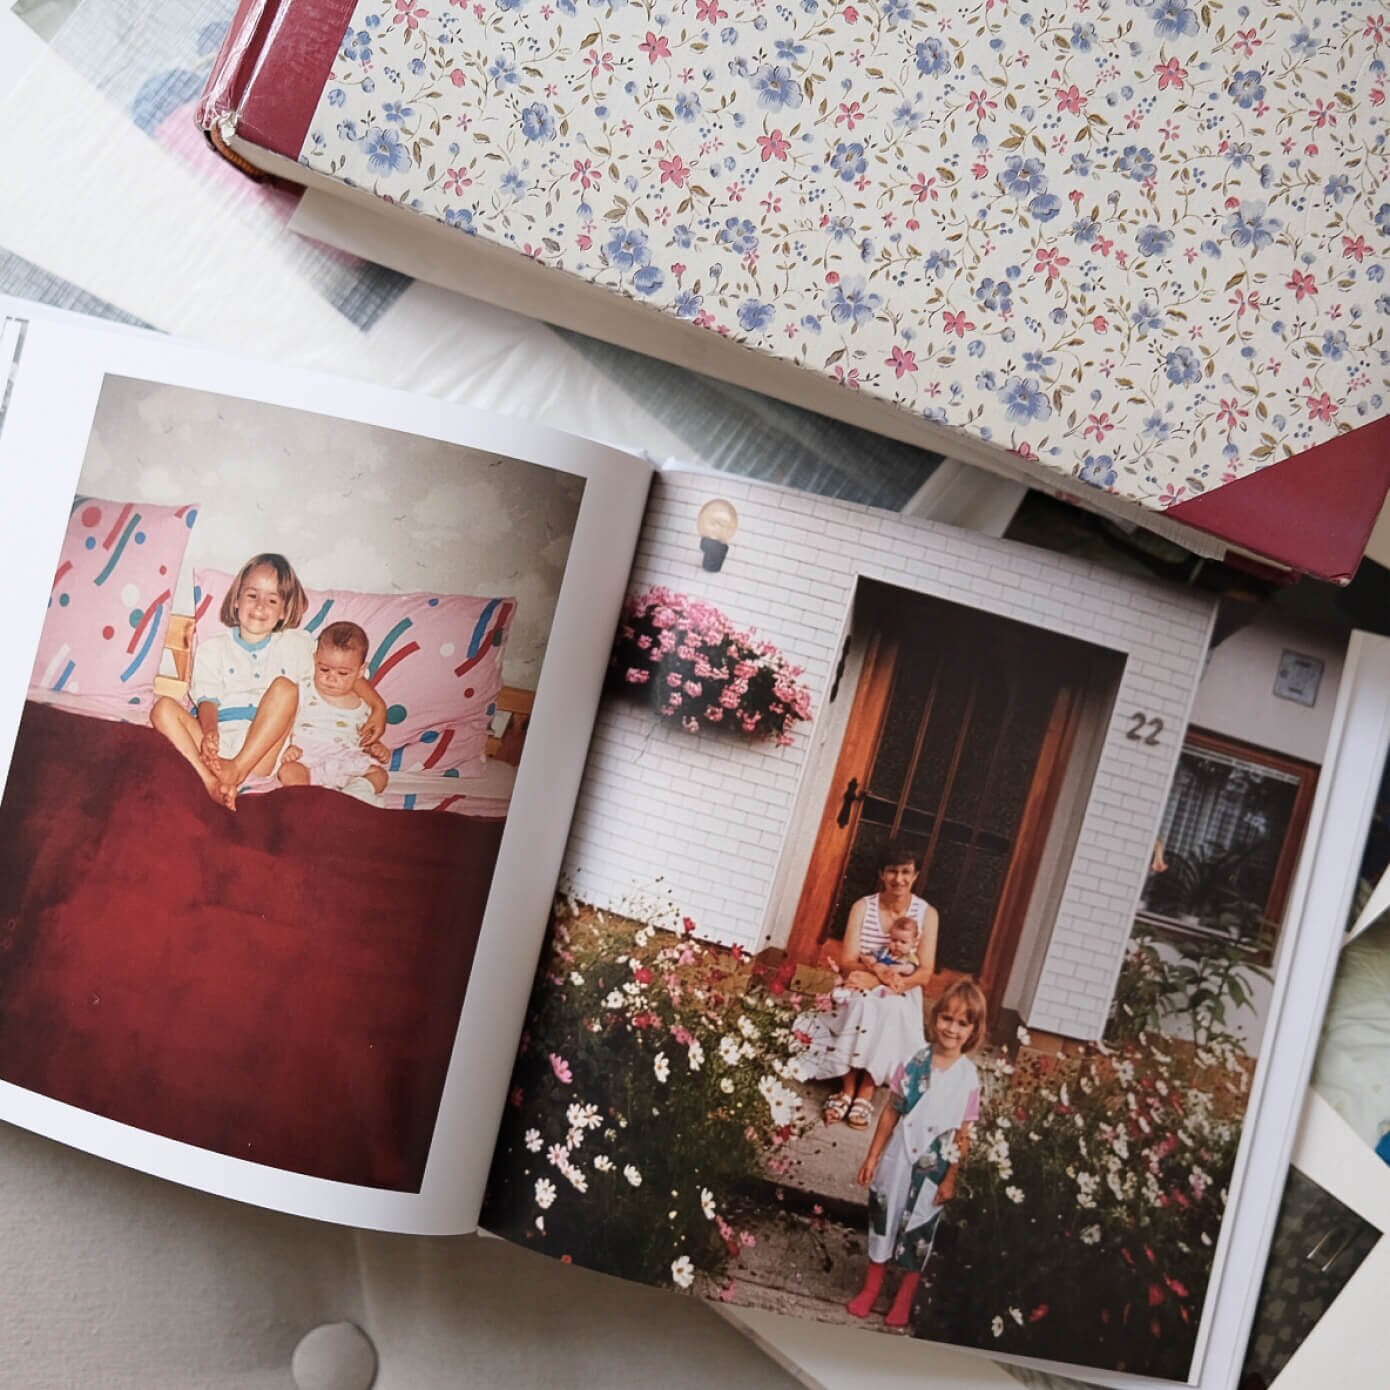
Do you, or maybe your parents and grandparents, have stacks of old photos gathering dust? Transforming those cherished memories into a photo book will bring your old photos to life again – and it’s a very thoughtful gift for your loved ones.
Just follow these simple steps to nostalgic photo book:
1
Gather and organize
1
Collect your old photos and organize them by theme or chronology. This will help you plan the layout and tell the story.
2
Digitize your photos
2
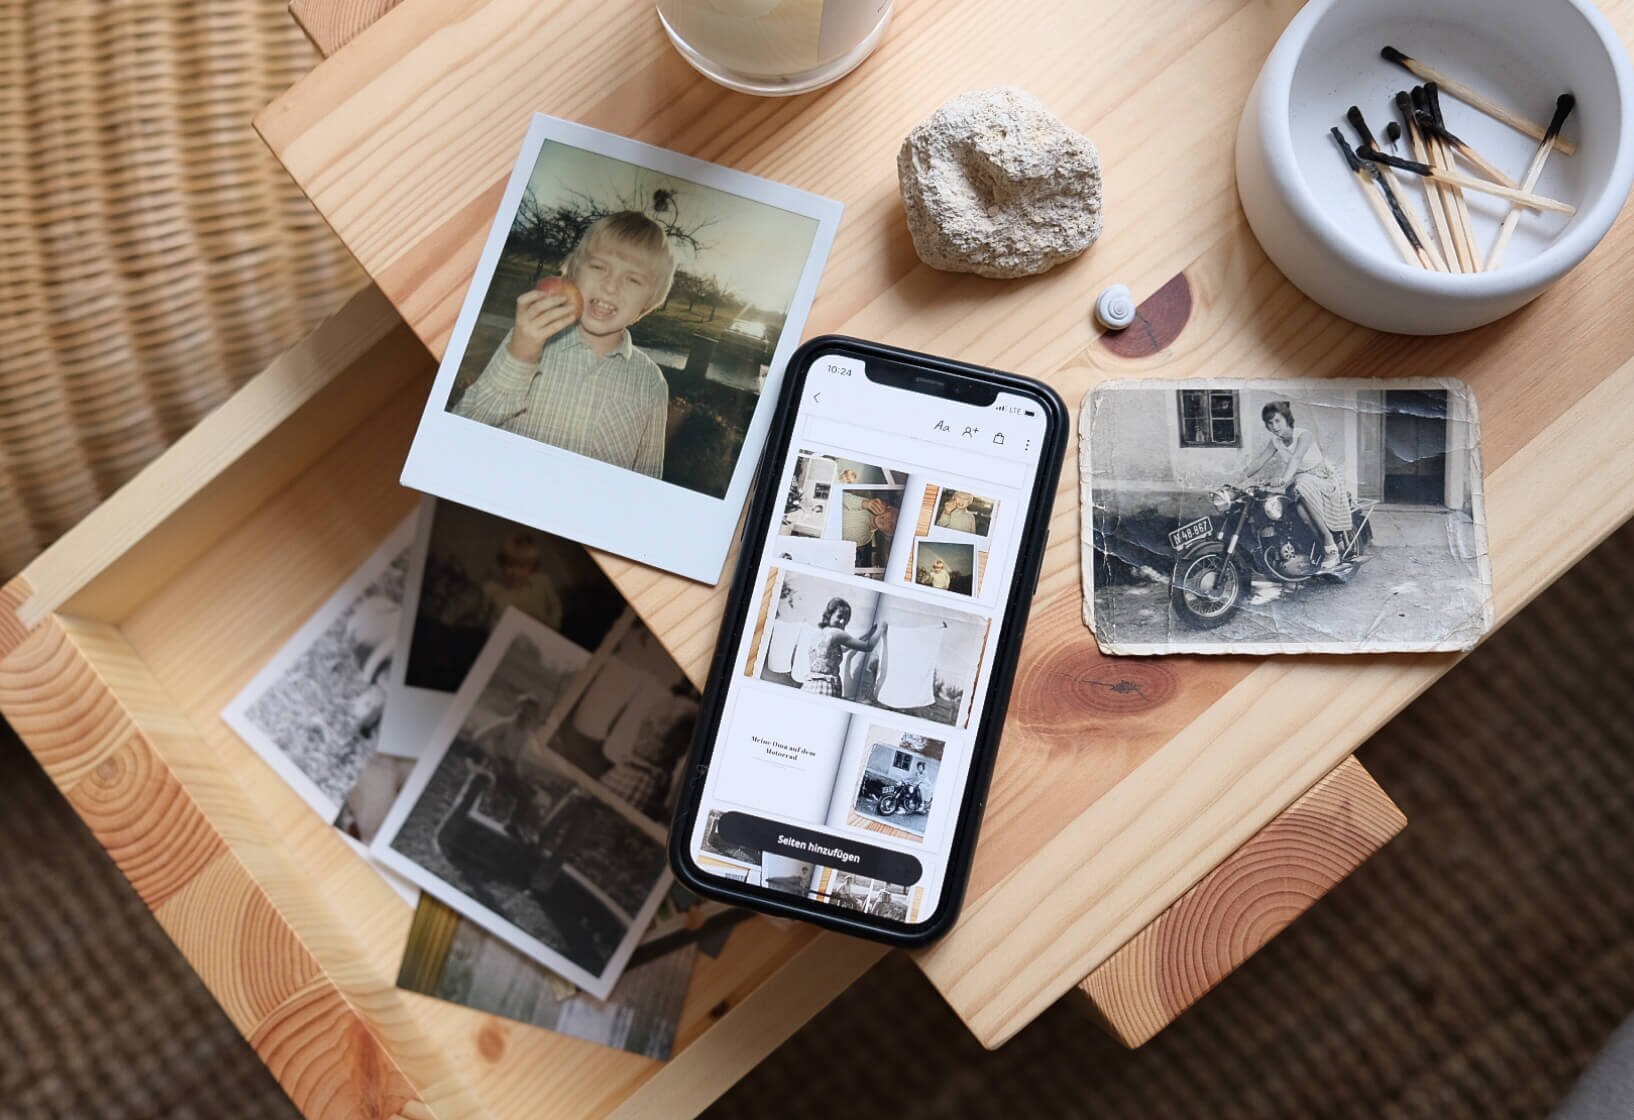
Opt for simplicity! There are tons of apps you can use to scan your photos (we tried Photomyne and loved it) or you can just take a photo with your phone. Make sure to take the photo in daylight (but not sunlight) and crop the edges in your camera roll editor.

3
Add Photos
3
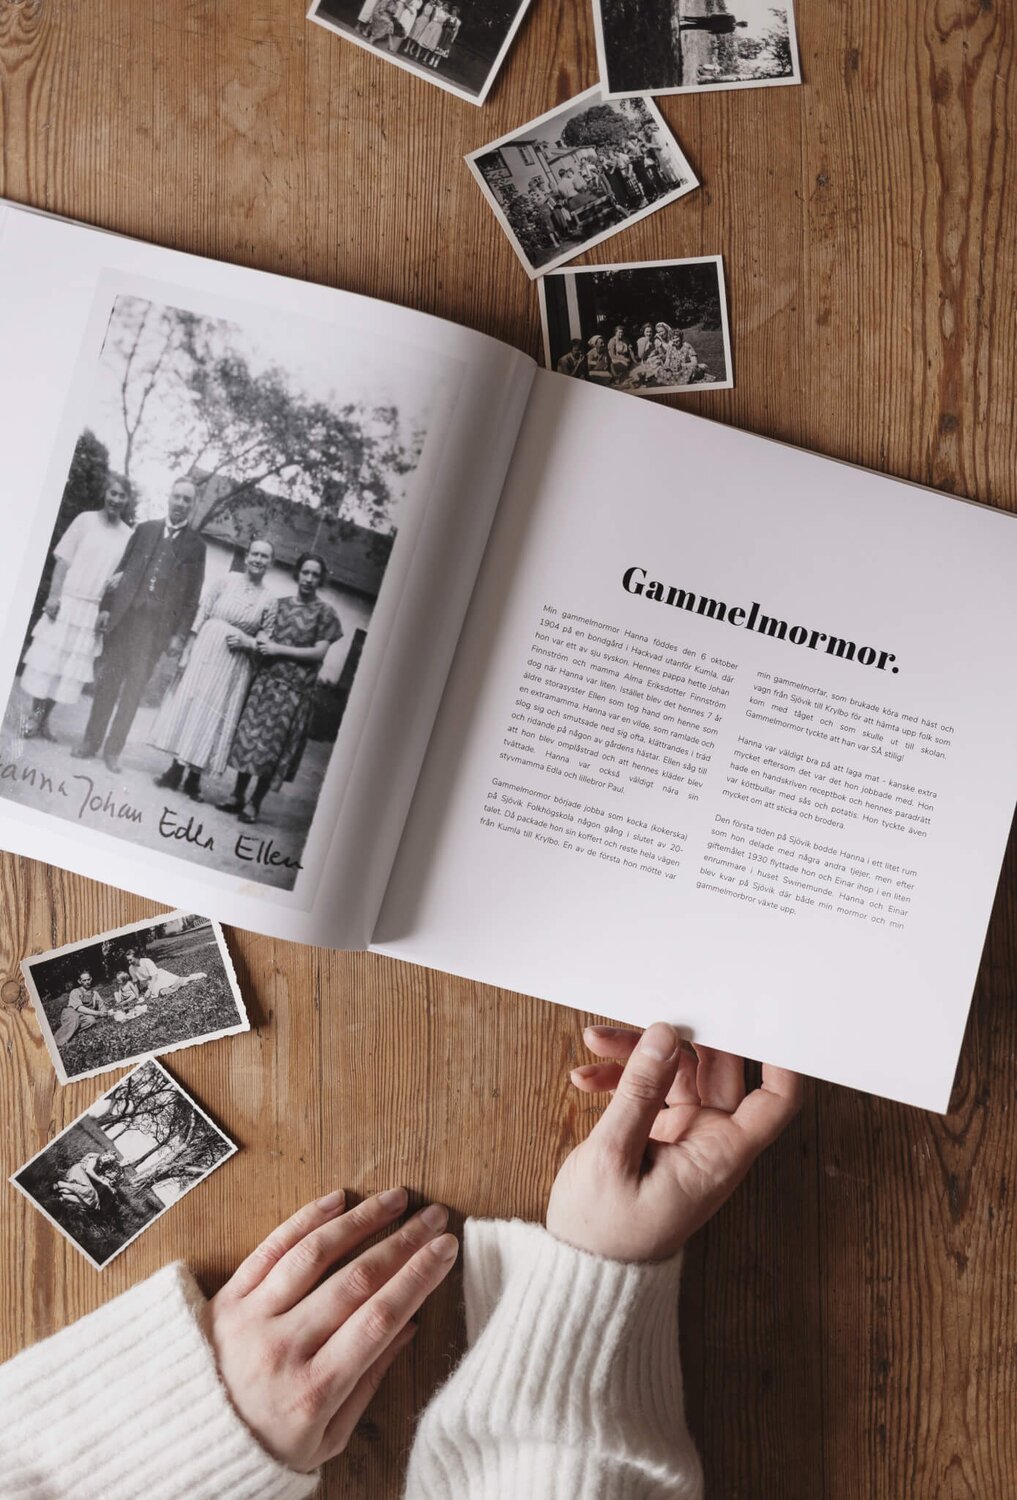
Upload your digitized photos and arrange them in your photo book. Choose between different layouts and add captions or other text to build the story.
Tip! Since the photo quality back then wasn’t as good as today’s photos, pick layouts with many and smaller photos on each page instead of full bleed options.

4
Review
4
Take some time to review and edit your photo book for any typos or layout adjustments. It’s worth the extra time!
5
Order and share
5
When the book is ready to order, consider giving a copy to your family. You can order multiple of the same, or you can duplicate the photo book then change the title or write a personal note in the beginning of the book.
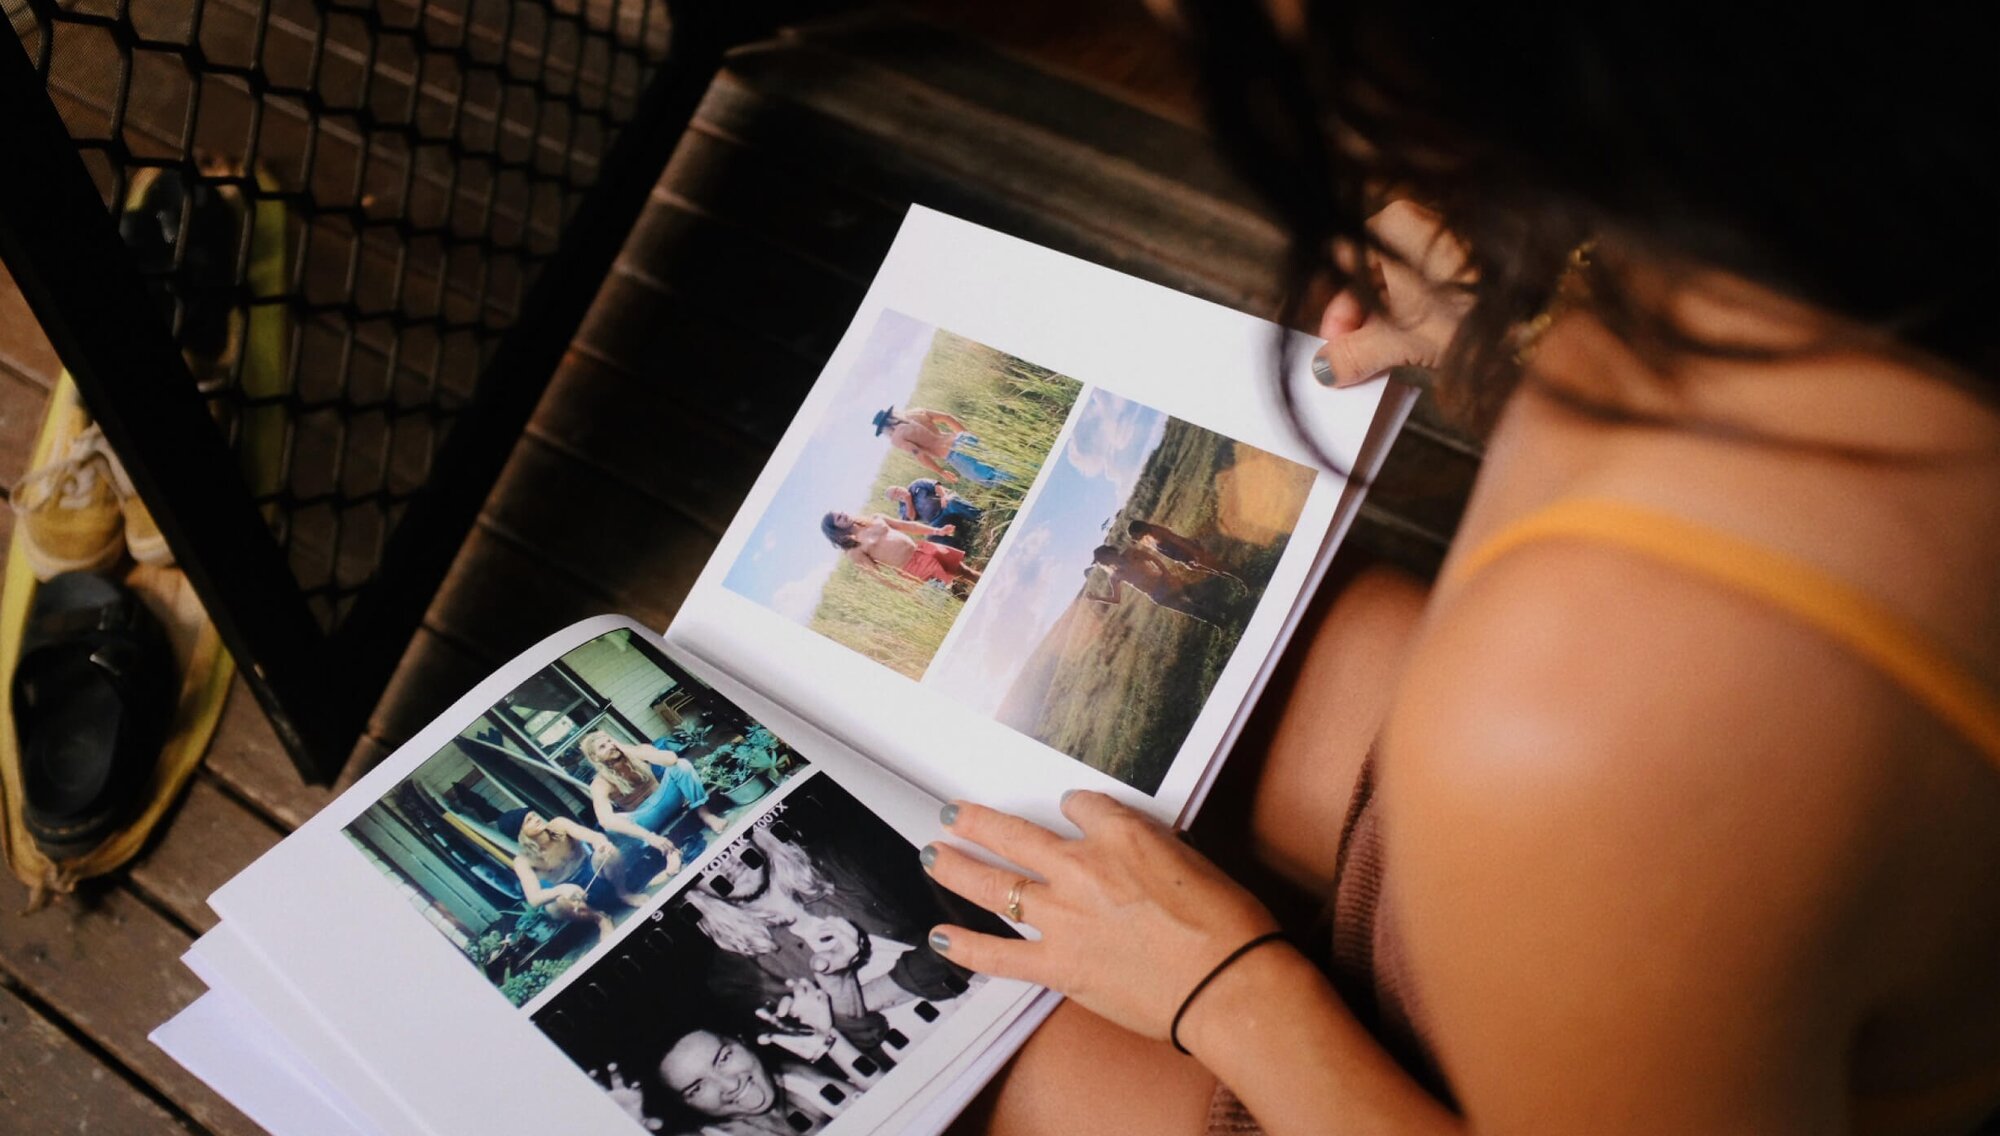
Making a photo book with old photos is a really fun project that celebrates and brings your and your family’s memories to life.
Sprog